Pages

Monday, April 7, 2014

Pewter Spoons

This weekend, I went to a pewter casting workshop run by the talented Ella McIntosh of This is Pewter at Manchester's Craft and Design Centre.  I've been to one of Ella's workshops before where I made a pewter beaker.  This time we were learning about casting pewter into Cuttlefish bone.  I've not tried Cuttlefish casting before and I really enjoyed it - though admittedly I did go home smelling slightly of burnt fish!!

During the workshop I made two spoons.....


The Cuttlefish was surprisingly easy to carve into - once I'd cut the bone in half.  I'd brought a small bird bead along with me to the workshop and I pressed this into the Cuttlefish and then designed around it - I was going for a tree design for my bird to sit in.....


Once the design was complete I carved a sprue to the pour the metal into and put it back together again with the other half of the Cuttlefish bone......


The Cuttlefish left a lovely texture on the metal which I wasn't quite expecting - but I think that it only added to the tree-like effect.  Pewter melts at a low temperature so it only lightly scorched the Cuttlefish on the first pour so I could use the mold again.  Because I had the scorch marks from first pour I could carve into the other half of the Cuttlefish to get a 3-D back to my cast - in the photo below the one on the right is my first pour (with the flat back) and the one on the left is the second (with a 3-D back).....


I completed the spoons by cutting and doming a bowl and soldering this onto the cast section.  I really loved this workshop - Ella is good fun and very knowledgeable - will definitely be trying casting with Cuttlefish again.


Monday, March 31, 2014

A bit more starlight....

I said that I was going to explore the idea that I started when making a present for my lovely sister-in-law.  With that piece, I sandwiched silver ovals together with resin - leaving the black clear so the light can flood through.  This is a similar idea but I really wanted to get a more geometric look so I've been working on getting more angles into a silver shape.  This is what I came up with......


I used some labradorite wheels to finish off the necklace.  


Monday, March 24, 2014

Keum boo

I recently went to a Keum Boo workshop taught by the lovely Jo Tinley.  Keum Boo is an ancient Korean technique which allows you to attach 24 carat gold foil to silver.  Gold and silver have a similar atomic structure so, by using the correct heat and pressure, it is possible to get them to permanently bond together at an atomic level.  It feels a bit like alchemy!!

I made a couple of pieces in the workshop.  First, I cut out a shape from the gold foil using a punch and attached it to silver that I had textured (with Jo's favourite hammer!).  I also added a patina using liver of sulphur....


My second piece is a domed silver disc that I filled with scraps of the gold foil.....


I really loved the workshop - if you have a chance I would definitely recommend Jo's workshops.  The Keum Boo technique is great - I'm definitely going to keep experimenting with it - will let you know how I get on.  


Thursday, March 13, 2014

The soup is cooking

I'm part of the bead soup blog party again this year - and this time I have been partnered up with the very talented Marcia Dunne.  Please go and have a look at her work - she is seriously talented and has just been published in Belle Armoire Jewelry magazine.  Very impressive - congrats to her for that!  

Here is what she sent me......


Marcia said that she had a good stash of artisan beads and she wasn't kidding.  She has sent beads from a few different bead artists - Happy Fish, Scorched Earth, Blueberri beads, as well as her own shop - some of whom I haven't come across before.  I'm going to enjoy looking up these shops and discovering new artists - part of the fun of this blog party.  I'm very happy with my bead soup - thanks Marcia! - I've got a few ideas already.  Please come back and see what I come up with on reveal day - May 3rd.  

Thanks to Lori Anderson for organising this blog party - especially when she is so sick.  It is a serious feat of planning and organisation.  She has nearly 500 of us to wrangle for this party - must be like herding cats!  Thanks Lori - get better soon. 

Monday, March 10, 2014

Crushed Gemstones

I've been playing around with some crushed gemstones and seeing how they work with resin.  For this piece I made a domed silver disc and then filled it with crushed garnet and citrine - using resin to keep everything in place.

I was after a textured finish so I didn't dome over the top with resin - I was really just using it as glue.   I like fiddling with jewellery and I thought the texture would feel good to the touch.  


I finished the necklace off with a string of co-ordinating garnet nuggets.


Tuesday, February 18, 2014

Casting

Over the last few weeks I've been experimenting with casting - using delft clay.  I've always been a little wary about casting because you have to get the metal crazy hot.  Being a bit accident-prone I was worried about accidently dropping red-hot molten silver on myself!  But I decided to be brave and give it a shot.  

I started with the handles of my Grandad's gardening cup.  There was quite a bit of silver in these but they were an awkward shape.  I decided to cast these into metal sheet that I could use for other projects.  It took a few attempts - either I didn't use enough silver or get it hot enough - so I got odd shaped sheets.  But eventually - like Goldilocks - I got it just right (bottom right)!  


They are still quite thick so I'll roll them out in the rolling mill and I'll have some useful silver sheet.

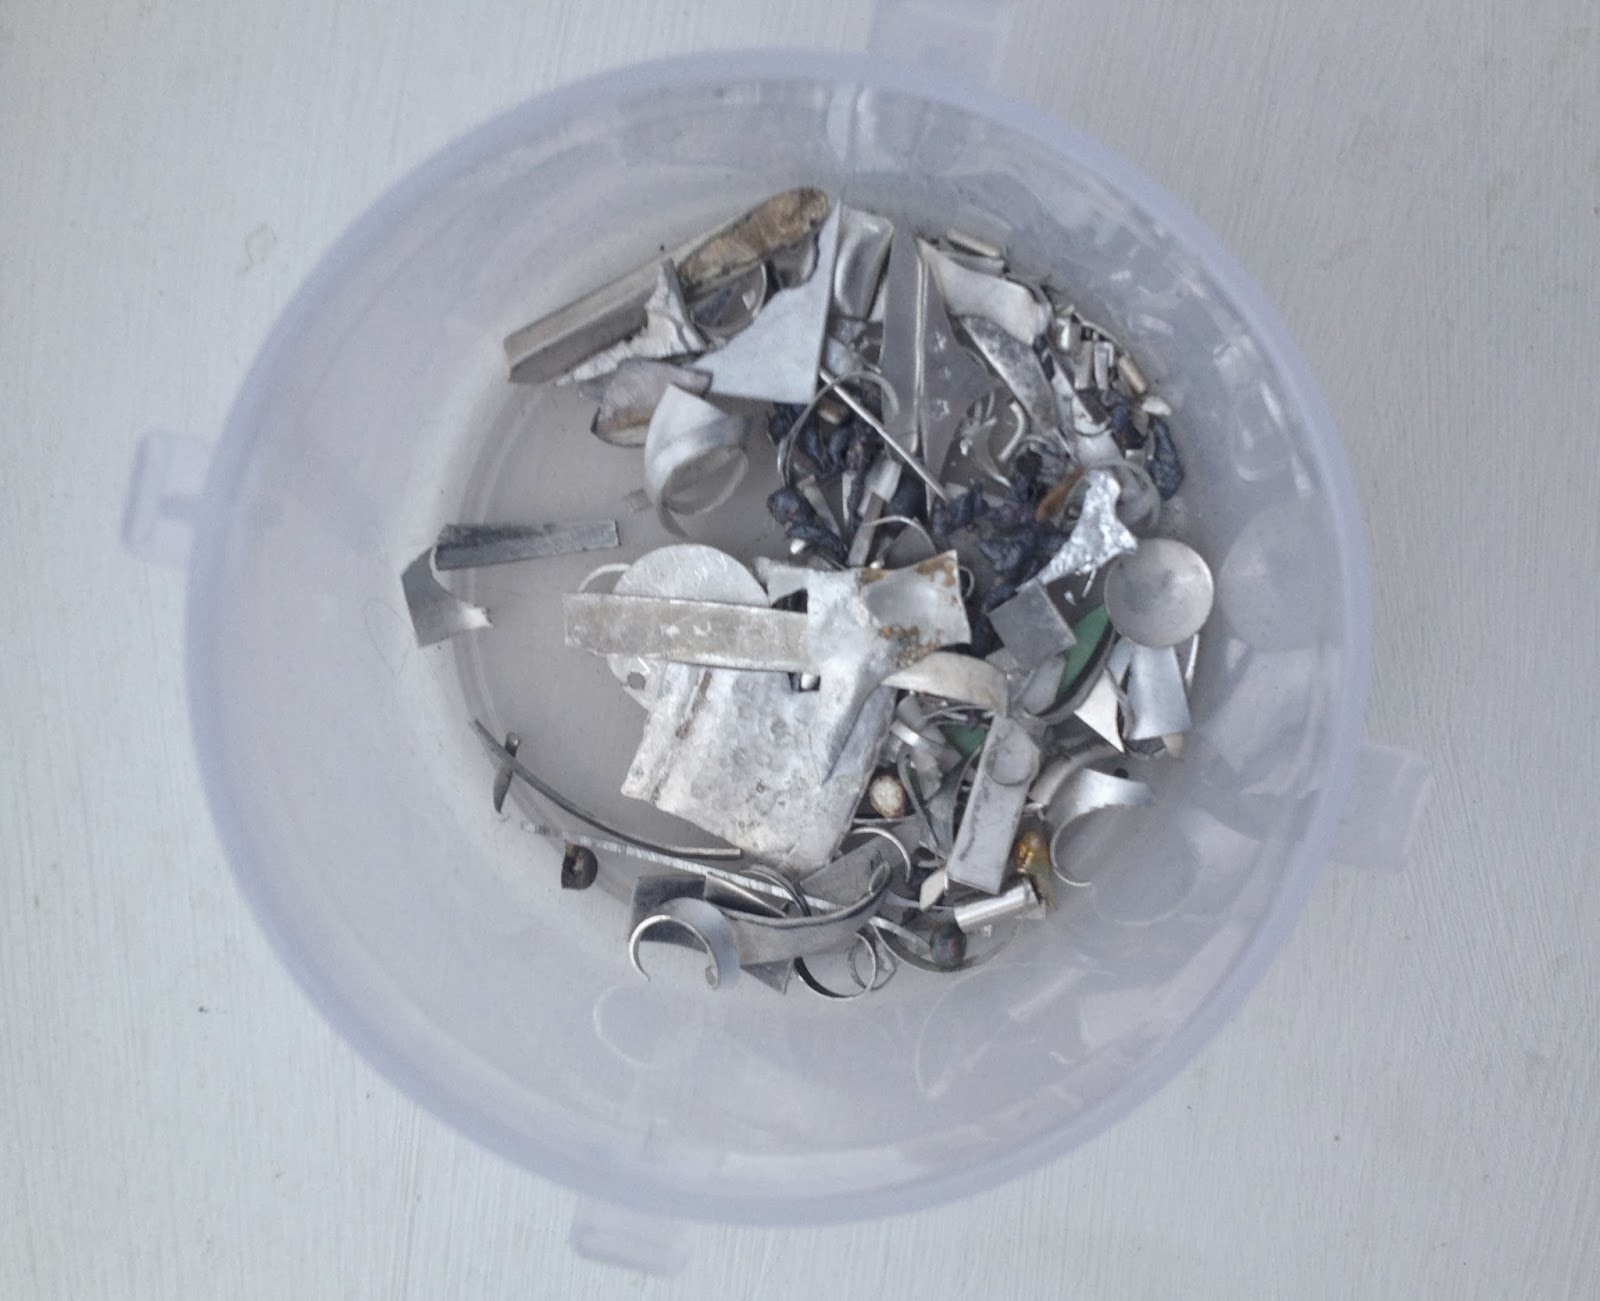
Bitten by the casting bug, I then decided to tackle my scrap pot.......

...and turned this.......


.....into this.....

....so much prettier!

The silver flower is cast from a pottery flower I made last year.  It is now looking rather grubby from being in the delft clay but I was pleased with how well it cast.  


Wednesday, February 12, 2014

The trouble with men

I find it challenging to decide what to make for men.  For women, I have loads of ideas but with men I'm a bit stumped.  However I'd set myself the challenge of a handmade Christmas so I needed to get thinking.  (Sorry, yes I know it is now February - it has taken me a while to show you these).  

First up, I made some cuff links for my brother.  I really enjoyed the challenge of making these - getting them identical (well almost!) and soldering lots of pieces of wire in close proximity (i.e. making sure I didn't melt things I didn't intend to!).  I've also used resin and mica for some colour and subtle shine.  


My Dad is a keen golfer - I am not!  So I had a search online for some ideas of what to make.  When I started making his present I thought I was making a golf marker.  However when I'd almost finished someone let me know that I'd actually made a divot repairer - who knew?!  I quickly decided to add some wire as a bit more reinforcement.  Fortunately, Dad seemed to know what to do with it!


If you have any ideas about what else I can make the men in my life please let me know.......